



Installation
Below you will find instructions on how to install the program in Windows and in Mac.
We took the AKVIS Noise Buster (Win) and AKVIS Coloriage (Mac) installation as an example.
Other AKVIS programs are installed in the same manner.
Attention! You must have administrator rights to install the program on your computer.
Before installing the AKVIS Plugin, please make sure that the photo editor where you want to install the plugin, is closed.
Follow the instructions to install AKVIS Noise Buster in Windows.
- Start the setup exe file.
- Select your language and press the OK button to launch the installation process.
-
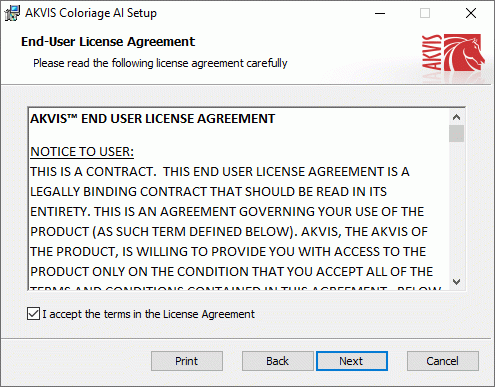
To continue the installation process you have to read and accept the License Agreement.
Activate the check box "I accept the terms in the license agreement", and press Next.
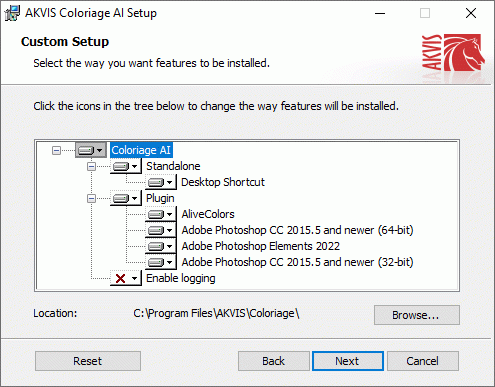
- To install the Plugin you should select your photo editor(s) from the list.
- Hint:
If your photo editor is not in the list, activate the component Custom Plugins Directory
and choose the folder where you keep all plugins and filters, for example, C:\My Plugins. In this case you should set this folder as the plugins folder in the settings of your photo editor.
Custom Plugins Directory
and choose the folder where you keep all plugins and filters, for example, C:\My Plugins. In this case you should set this folder as the plugins folder in the settings of your photo editor.
Or you can copy the 8bf file into the Plug-ins folder of your image editor.
To install the Standalone version, make sure that the check-box Standalone is activated.
To create a shortcut for the program on desktop, activate the component Shortcut on Desktop.Press the button Next.
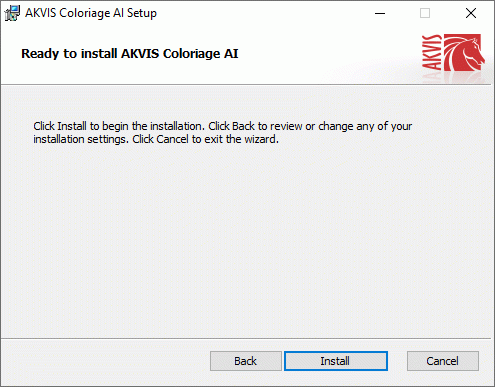
- Press the button Install.
- The installation is in progress.
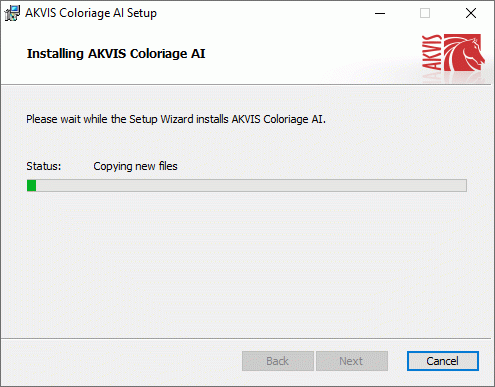
- The installation is completed.
You can subscribe to the AKVIS Newsletter to be informed about updates and events.
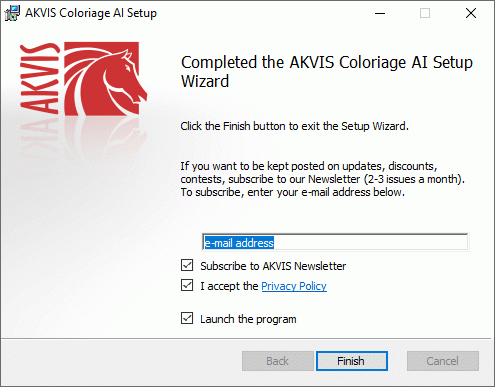
- Press Finish to exit Setup.
After installation of the standalone version of Noise Buster, you will see a new line in the Start menu: AKVIS - Noise Buster and a shortcut on desktop, if during installation the component Shortcut on Desktop was enabled.
After installation of the Noise Buster plugin you will see a new item in the Filter/Effects menu of your photo editor. For example in Photoshop: Filter -> AKVIS –> Noise Buster. Please use this command to launch the plugin in the editor.
Note: You can launch almost all AKVIS plugins from the menu Filter, except AKVIS Magnifier.
To call the Magnifier plugin in Photoshop please use the command File -> Automate -> AKVIS Magnifier, in Photoshop Elements: File -> Automation Tools -> AKVIS Magnifier. The plugin does not work with other image editors. Unlike other AKVIS plugins, to make the Magnifier plugin work you must have two files in the Plug-Ins folder: 8li and 8bf.
Attention!
If the plugin does not appear in the Filter, copy the .8bf (or _64.8bf for 64-bit version) file from the AKVIS folder (C:\Program Files\AKVIS\Noise Buster\Noise Buster.8bf) into the Plugins folder of your image editor.
Consult the tips on how to install plug-ins into Photoshop, or into Paint Shop Pro Photo, or PhotoImpact. Read how to work with our plugins in GIMP or Xara Xtreme. If you still have problems, please write to our support team.
Follow the instructions to install AKVIS Coloriage in a Mac computer:
- Open the virtual disk dmg:
- akvis-coloriage-app.dmg to install the Standalone version
- akvis-coloriage-plugin.dmg to install the Plugin to your image editor (Photoshop or Photoshop Elements).
- Read the License Agreement and press Agree, if you agree with the conditions.
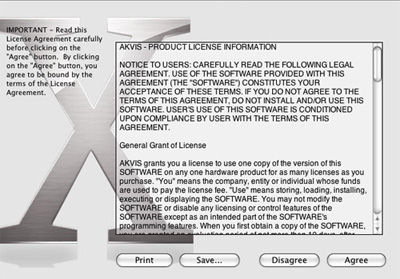
-
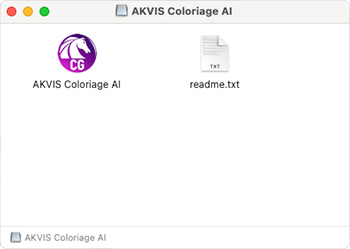
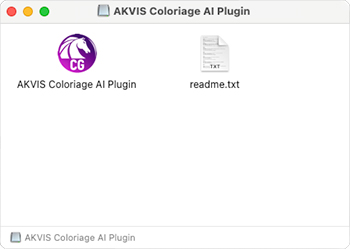
Finder will open with
AKVIS Coloriage application or
AKVIS Coloriage PlugIn inside.
-
To install the Standalone version just drag the AKVIS Coloriage application into the folder Applications (or any other place you like).
To install the Plugin drag the entire AKVIS Coloriage PlugIn folder into the Plug-Ins folder of your graphic editor.
For example:
if you use Photoshop CC 2018, copy the plugin into Applications/Adobe Photoshop CC 2018/Plug-Ins;
if you use Photoshop CC 2017, copy it into Applications/Adobe Photoshop CC 2017/Plug-Ins;
if you use Photoshop CC 2015.5, copy it into Library/Application Support/Adobe/Plug-Ins/CC;
if you use Photoshop CC 2015, copy it into Applications/Adobe Photoshop CC 2015/Plug-ins;
if you use Photoshop CS6, copy it into Applications/Adobe Photoshop CS6/Plug-ins.
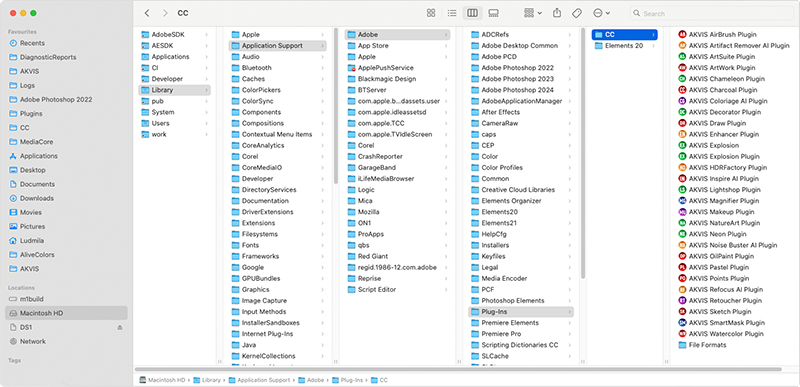
After installation of the plugin, you will see a new item in the Filter menu of your photo editor. In Photoshop select in menu: Filter -> AKVIS -> Coloriage.
Note: You can launch almost all AKVIS plugins from the Filter menu, except AKVIS Magnifier. To call the Magnifier plugin in Photoshop please use the command File -> Automate -> AKVIS Magnifier, in Photoshop Elements: File -> Automation tools -> AKVIS Magnifier.
Run the standalone app by double-clicking on its icon in Finder.